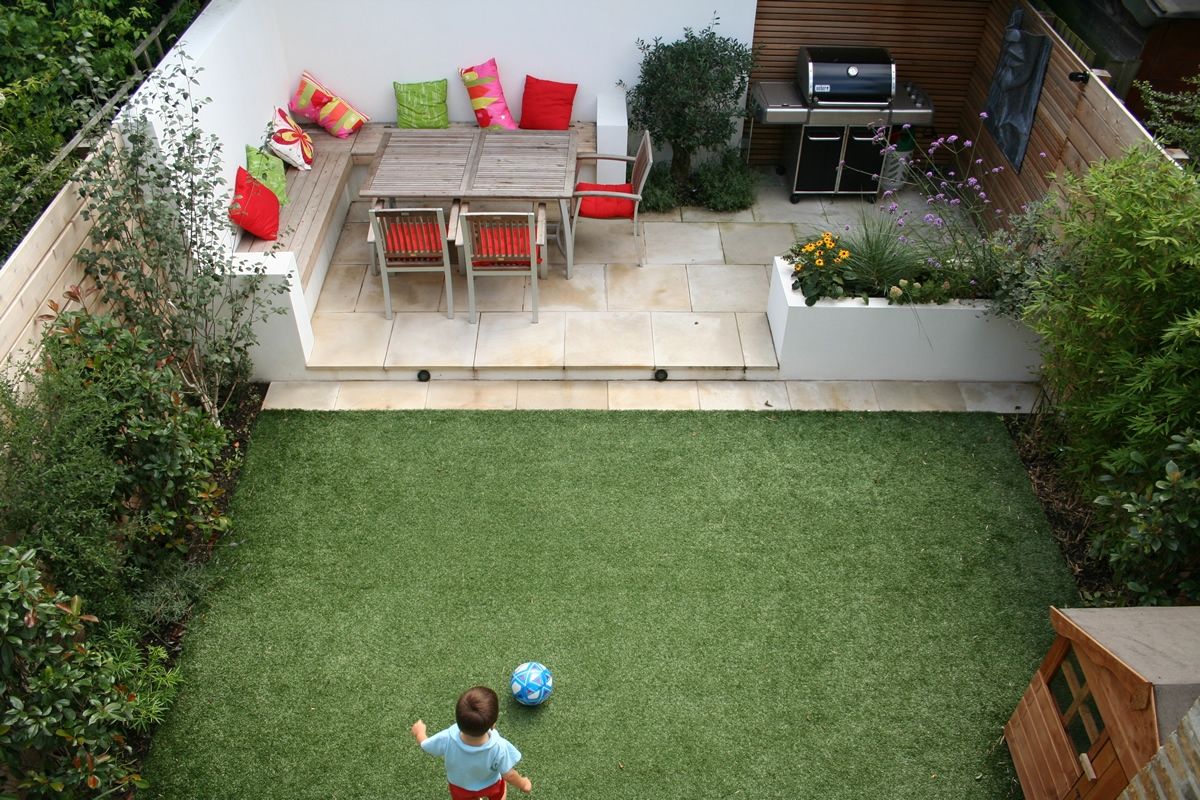
A patio is just another way of saying ‘a paved area' in your garden. It lets you make more of your garden, whether that's entertaining or just relaxing. And it's a low-maintenance option so, once you've built it, you'll not have too much to do to keep it looking great.
Also, one quick word of advice. Try to make sure you have someone else to help you. It makes lifting all the paving slabs easier and it will get your project finished quicker.
Make sure you have the basic safety kit for the job. Get heavy gloves, goggles, steel toe-capped boots, dust mask and ear protection (for when you're using machinery).
You'll need some, or all, of the following:
Start by working out how much room you want your new patio space to take up. You don't want a pokey wee area that has no room to relax in. But you probably don't want your entire garden to be your patio. Start by looking at roughly how much of the garden you want to be your patio. Make a rough drawing of the garden. Then overlay some potential sizes and see how it looks. Try drawing furniture, a BBQ and even plants onto your plan. You'll pretty quickly see if your patio is big enough to enjoy without dominating your garden.
Mark out the area of the patio and calculate your ‘fall'. (The ‘fall' is the gentle slope you build into your patio to ensure rainwater can drain easily. Normally a 1:60 slope is ideal - that's a fall of about 16mm per metre.)
If your patio adjoins your lawn, we'd suggest your patio sitting about 10mm below the grass. It'll make mowing your lawn much easier.
If you can, lay the slabs out before you start (without securing them in place). You can see the actual size of your patio and you can match any variations in the shade of the slabs. Then clear them out of the way.
Secure a wooden peg in each corner of your area and run your string between them. This gives you a straight edge on each side to lay your slabs against.
Grab your turf cutter and remove the grass from the patio area. Then you need to lay your sub-base. At the end of the day, you should have (from the bottom of the foundations upwards) 100mm of gravel, a thin layer of sand, around 50mm of mortar and then the slabs on top. You might want to add wooden posts as markers at this point. Once you know your ‘fall' you can have wooden post markers every metre, to show you the depth at the point. They should get lower the closer you get to the lowest edge of your patio.
Tip your gravel into the bottom of the pit. Then get cracking with your plate compactor. It makes sure your base layer is level and that it won't become uneven as it settles. Make sure you can just see the tops of your marker pegs. Then cover the area with 10mm of builders' sand. This is your binding layer.
Your first slab is your most important - it acts as a guide for all the other slabs you'll lay. Mix up some mortar in your cement mixer. Aim to use a ratio of four parts builders' sand to one part cement. Start at the top of your patio (i.e. at the highest edge) and lay a base of about 60mm of mortar. You only need enough for your first slab. Wet the back of your slab and then carefully lay it into position (we told you having an extra pair of hands was important). Gently set the slab into the mortar. Then, using a short piece of timber to protect your slab, lightly knock the slab into place using your rubber hammer. Always make sure your slab remains level (allowing for any slope you've calculated as your ‘fall'). Then go round your slab and fill in any gaps below it with more mortar.
Work your way down the slope, in the direction of your ‘fall'. Place spacers between each slab as you go. You're best to use some dowel so that your spacers give regular spacing. Once you reach the bottom of the row, return to the top and start again. You'll want to overlap the slabs - it's normal to start your second row with half a slab. Which is where an air disc saw or a portable cut-off saw or an angle grinder will come in handy. Once you get into the groove of laying your slabs you'll notice it becomes easier - practice makes perfect. Just remember to keep using your spirit level to check your patio is flat (but slopes gently in the direction of your ‘fall').
After you think you're finished
Make sure you leave the mortar for at least 48 hours before you use the patio. It needs time to set. If rain is forecast, then place a tarpaulin over your patio and secure the edges securely. Once you've waited your 48 hours you need to joint your patio - filling in the gaps between the paving slabs. Normally a wet mortar mix is required for this job. Work the mortar into the joints and push it down into the gap using a jointing tool. Make sure you clear up any excess mortar on the slabs as you go to prevent staining.
Once you've got your patio sorted, it's time to enjoy it. We're pretty sure you'll have earned your R&R. To help get you started, here are a few patios we think will inspire you.
